|
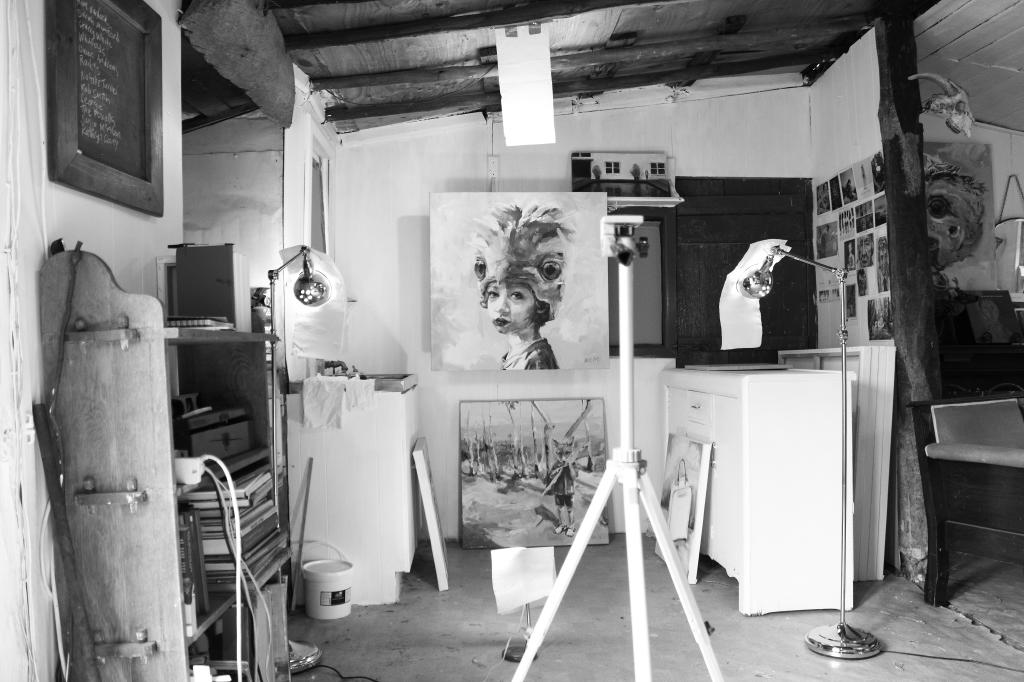
It’s week 5 of my 3 month intensive residency in my studio and I’m starting to get the photographing of my work in order. I have always used natural light to record my works, apart from the time that I lost my camera and had the talented camera buff Steve Woodhall (many thanks) take some studio photos of my works. As my last attempts to take decent snaps of my works were thwarted by time and the heavens and nasty oil painting glare, I decided it was time to look into studio lighting set ups. So this is my first go after a bit of an internet search, a scrounge around the house for some improvising bits and bobs and a trip to Bunnings. I know I’ve got to refine how I’m diffusing the light (so as not to be party to further work health and safety worries – government employee stamped I am). Apart from that, I set up 4 lights (using daylight bulbs) spread from above, below and either side at a 45 degree angle (all diffused), blocked off the window light from behind and the side with some crafty cardboard inserts (handy but not quite as awesome as Canes Arcade http://cainesarcade.com/ Thanks to my gorgeous son for the share), camera set up on the tripod (street pick up by brother-in-law Jon – cheers for that) as far away as I could in the room and zoomed in, set on f8, raw, timer mode and ISO 100. Camera positioned nicely to the middle of the work and the work placed with the spirit level. I looked for glare on my oil paintings, playing with the light angles and diffusers and trialled using a polariser and two different lenses (an 18-55 and a macro). I know I’m on training wheels so if anyone wants to share any hints, go for it. Here in these snaps you can see some of this lighting action and one of the malleefowl headpieces from last week featured.
Comments are closed.
|
AuthorNic Mason Archives
April 2023
Categories |

 RSS Feed